The Brave browser is gaining popularity for its privacy features and built-in crypto wallet. With Chrome and Firefox if a user wants to connect to the Ethereum network they need to download a third-party plugin such as MetaMask or Nifty. The wallet inside of Brave is based on MetaMask’s open-source code. The Browser’s wallet comes connected to the Ethereum mainnet and multiple testnets. You can add a custom network which is how we are going to add RSK.
Crypto Wallets in Brave
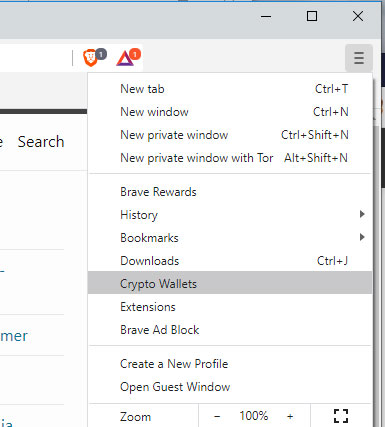
The wallet in the Brave browser is not as prominent as it is with Chrome or Firefox plugins. The wallet is located under the Main Menu / Crypto Wallet:
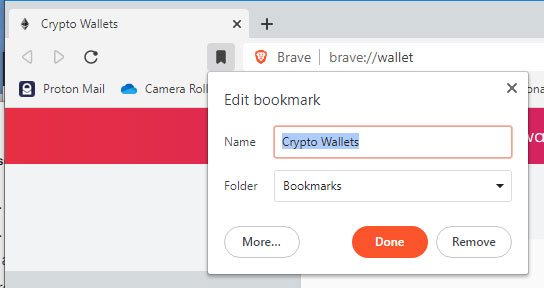
If this is the first time you have set up Brave it will ask you to create a wallet. This post assumes that you have already a wallet. Since the wallet is hidden under the main menu, I would suggest creating a bookmark for it on the bookmark row. To do this, on Windows press [CTRL]+[D] or on Mac, [Apple]+[D].
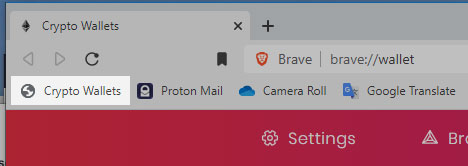
This should place Wallets on the bookmark bar for easy access. This will make it easier to switch between different networks and accounts.
Connect to the RSK Mainnet and Testnet
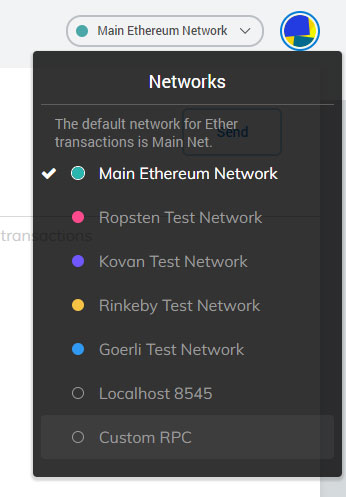
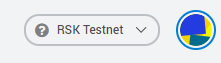
On the wallet screen, towards the right, it should show that it is connected to the Main Ethereum Network. If you toggle the dropdown, towards the bottom there an option to connect to a “Custom RPC”.
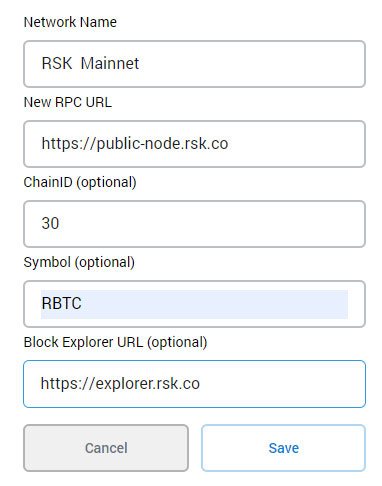
The New Network tab will open and ask some questions about the network. For RKS Mainnet, use the following settings:
| Input Field | RSK Mainnet Value | RSK Testnet Value |
|---|---|---|
| Network Name | RSK Mainnet | RSK Testnet |
| New RPC Url | https://public-node.rsk.co | https://public-node.testnet.rsk.co |
| Chain Id | 30 | 31 |
| Symbol | RBTC | RBTC |
| Block Explorer URL | https://explorer.rsk.co | https://explorer.testnet.rsk.co/ |
Example:
Hit Save and close settings. Next, we need to add the RIF token which is used in the RSK network. While connected to the RSK Mainnet, on the Accounts page, towards the bottom there is a heading “Don’t see your Tokens?” and a link to “Add Token”. Click the Add Token link and then click on the “Custom Token” tab. In the first field, Token Contract Address put the RIF Token Address:
| Network | RIF Contract Address |
|---|---|
| RSK Mainnet | 0x2acc95758f8b5f583470ba265eb685a8f45fc9d5 |
| RSK Testnet | 0x19f64674d8a5b4e652319f5e239efd3bc969a1fe |
When you press tab, or move to the next field, Token Symbol and Decimals of Precision will autofill with the token’s information:
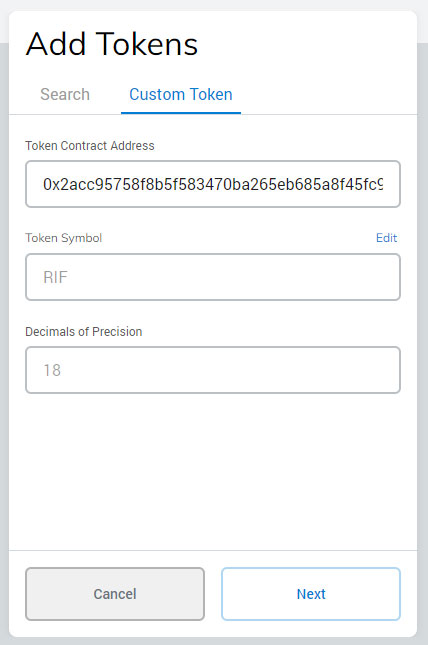
Click “Next” and then “Add Tokens.”.
You can repeat these steps for the RSK Testnet.
The RBTC and RIF Faucet
Now that the RSK network is set up, we can get a .rsk domain using the RNS Manager. A .rsk domain is like a shorthand for your RSK address. When receiving funds, rather than giving someone your long address, you can give them your RSK domain.
RBTC
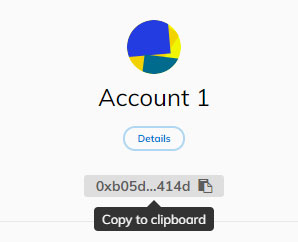
The first thing we will need is RBTC which is the currency that is used to pay for transactions on the RSK network. For this step, you will need your RKS Account’s address. If you closed out of it, navigate back to your Crypto Wallets by using the bookmark you set. Under “Account 1” you will see your address and a copy button. Copy your address to the clipboard.
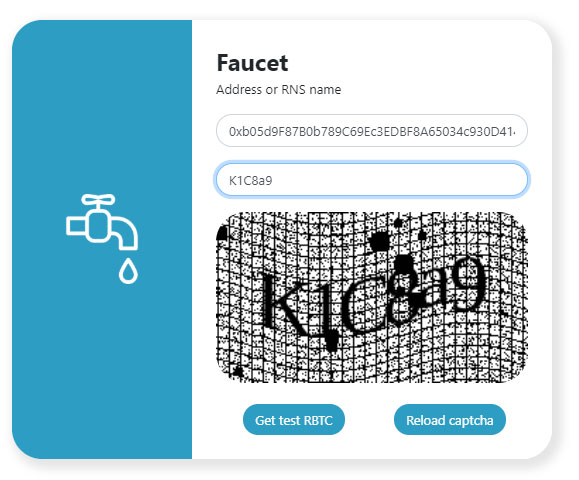
To get RBTC on testnet, use the RSK Testnet Faucet. In the first field, paste your address, in the second attempt to complete the captcha. Click “Get RBTC” and if the captcha was correct, wait for the transaction to complete.
RIF Token
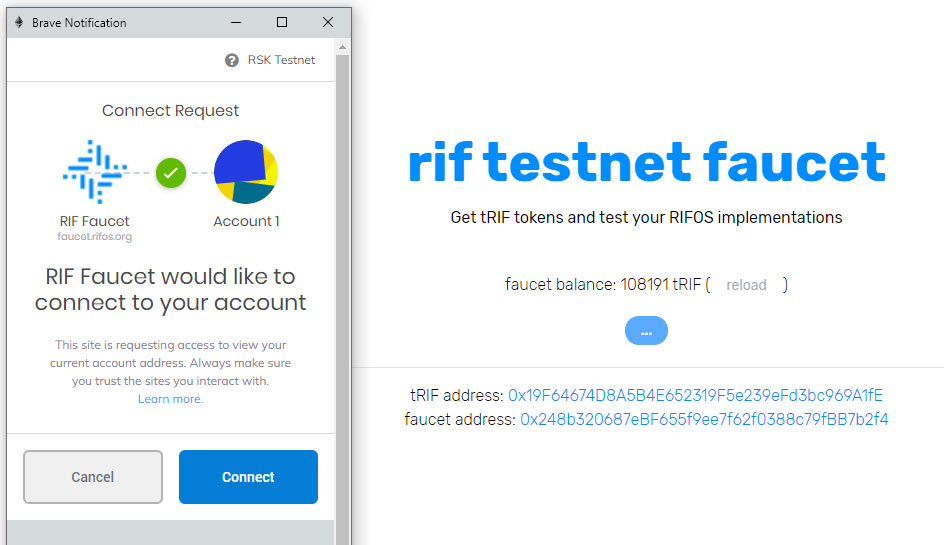
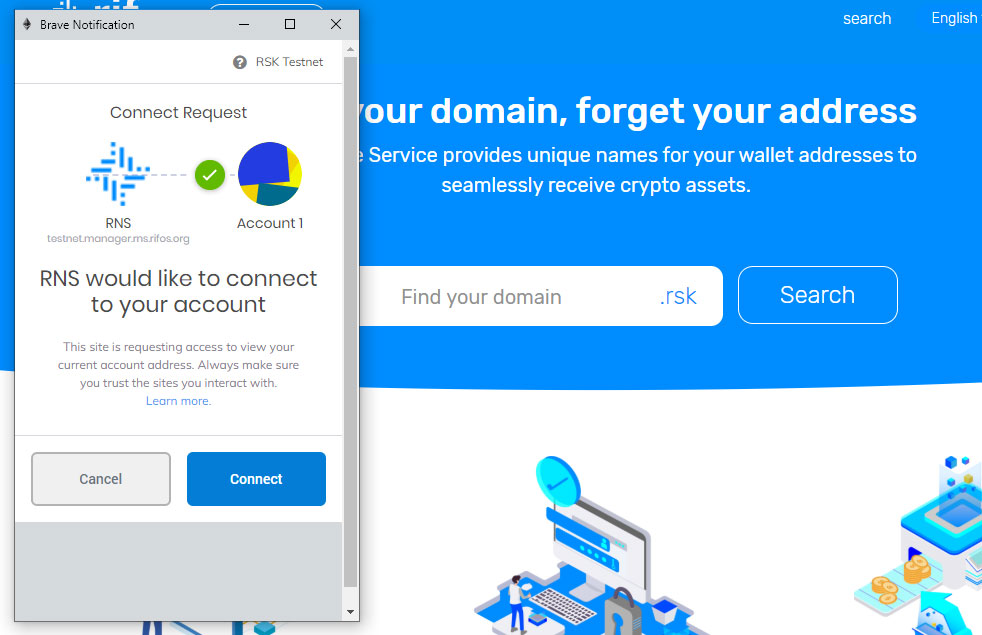
RIF is a token on the RSK network that is used to purchase .RSK domains and in the future other services at the Marketplace. On testnet, to get RIF, use the RIF Testnet Faucet. The RIF faucet uses Brave’s wallet to automatically get your Account’s address. Click the “dispense rif” button. Brave’s wallet will open asking you to connect your account to the website.
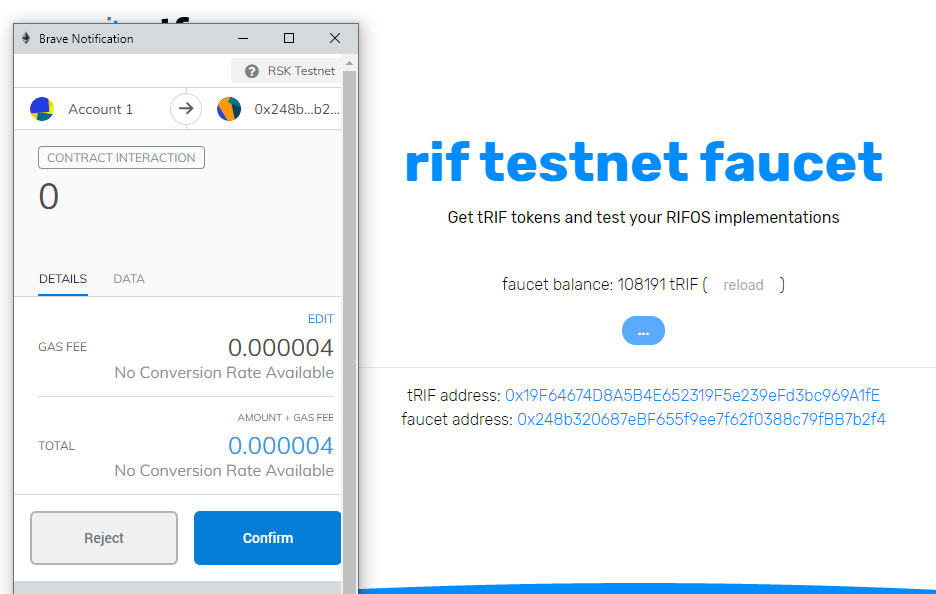
Click “Connect” and a second popup will appear asking you to sign a transaction. This will use a small portion of your RBTC to execute the transaction. Click “Confirm”.
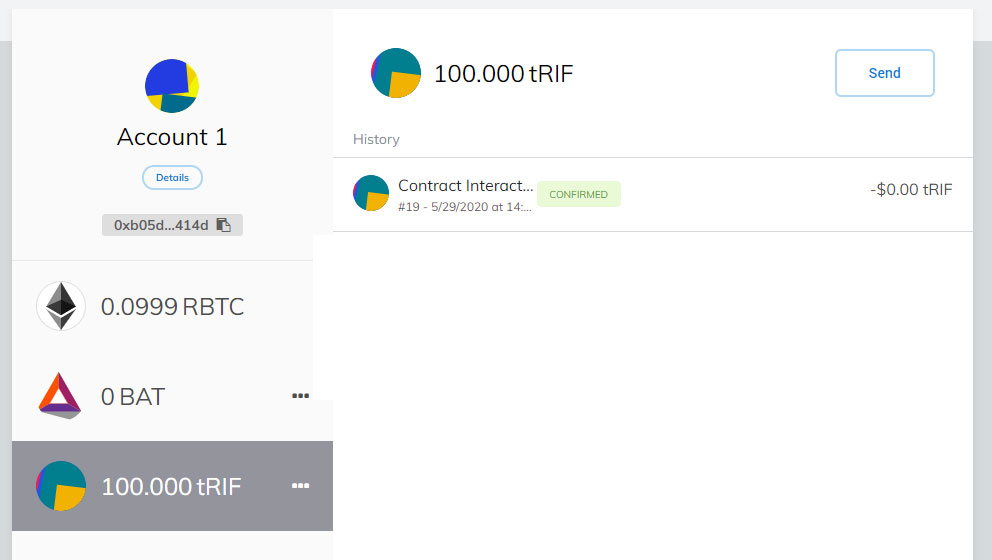
You will need to wait for the transaction to complete which usually takes about a minute. A browser notification may popup, but you can always check the status of a transaction by clicking on the “Crypto Wallets” bookmark:
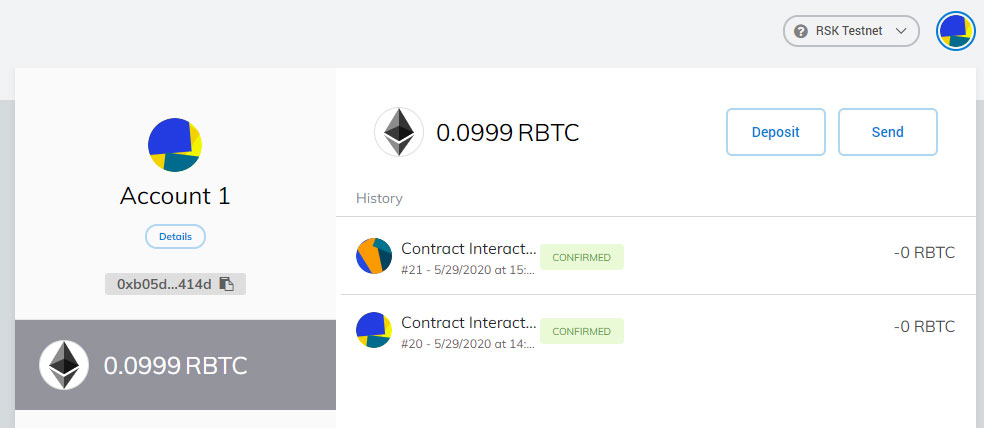
Once the transaction is completed, you should see a balance of 100 RIF.
Register a Domain
Now that the RSK network is set up, and you have rbtc and RIF, we can get a .rsk domain using the RNS Manager. A .rsk domain is like a shorthand for your RSK address. When receiving funds, rather than giving someone your long address, you can give them your RSK domain.
Navigate to the Testnet RNS Manager and click connect when it asks to connect your wallet to RNS.
Search for a domain and follow the registration steps. The steps here are the same if you are using MetaMask, Nifty or the Brave wallet. If you get stuck, instructions for registering a domain can be found here.
Brave Wallet and Checksum Errors
Addresses in Ethereum capitalize some letters in an address to specify if an address is valid on the network. Addresses will always work if they are lowercase but this capitalization adds a level of protection to the end-user to make sure they aren’t sending funds to an address on a different network. Here is an example of an address with different checksums for different networks:
| Ethereum: | 0x3Dd03d7d6c3137f1Eb7582Ba5957b8A2e26f304A |
| RSK Mainnet: | 0x3DD03d7d6c3137f1EB7582bA5957b8A2e26F304A |
If you look at the addresses they are the same characters but different letters are capitalized. In the RNS manager, if you provide an address in an input field that has a different checksum than the network, it will give you a warning:
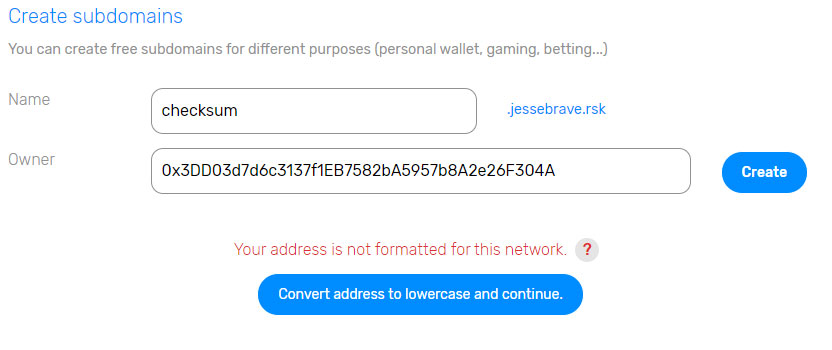
The reason for this is that Brave’s wallet converts addresses into Ethereum’s checksum values only. It does not convert the address to RSK’s network. This isn’t an issue, verify that the address is correct, and then click the “Convert to lowercase” button and continue with the transaction.
There is a helpful Address Validator that can be used to see if the capitalizations are correct.
 The Meetings Are the Work
 Writing Code Was the Easy Part
The speedup is real. It's just smaller than the marketing.
Writing Code Was the Easy Part
The speedup is real. It's just smaller than the marketing.
 I Give Advice 75% of the Time. I'm Trying to Get to 50.